Archive for March, 2024

Weight & balance

Sunday, March 31st, 2024

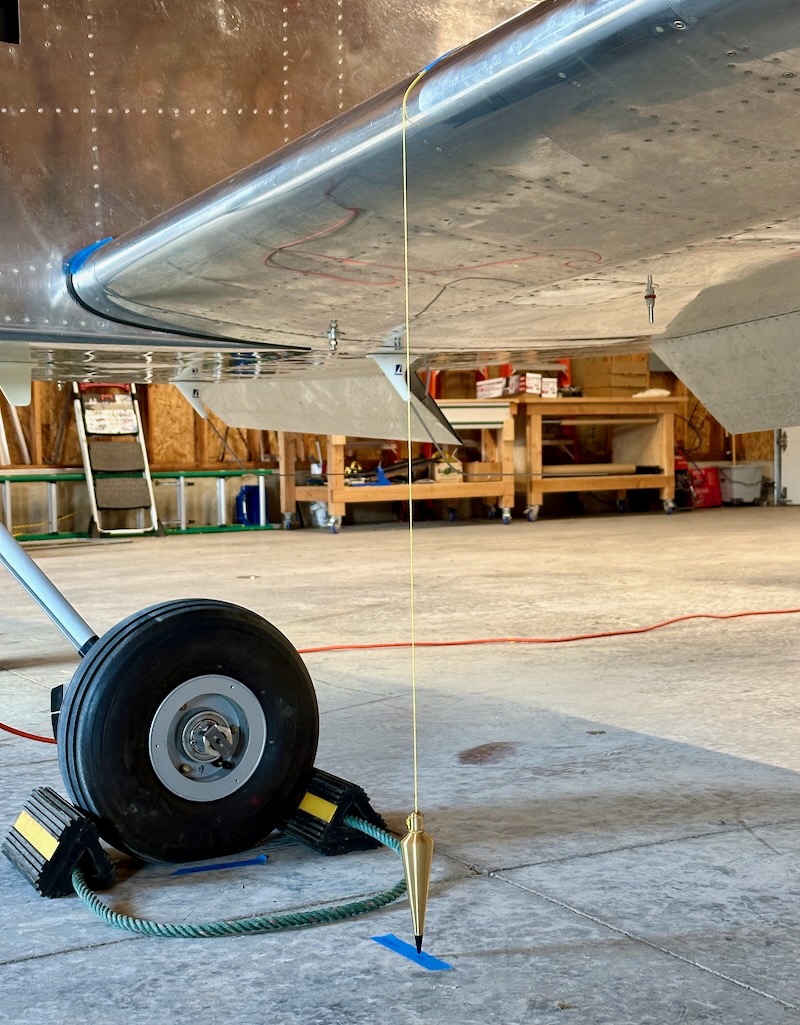
I leveled the airplane and used plumb bobs to mark the location of the wing leading edges and the center points of all the three wheels. From these marks I was able to measure the arm figures for each wheel, to be used later when calculating the CG. The measured locations of the main wheels ended up being within 1/10" of each other, so I just split the difference and recorded them both as the same value.

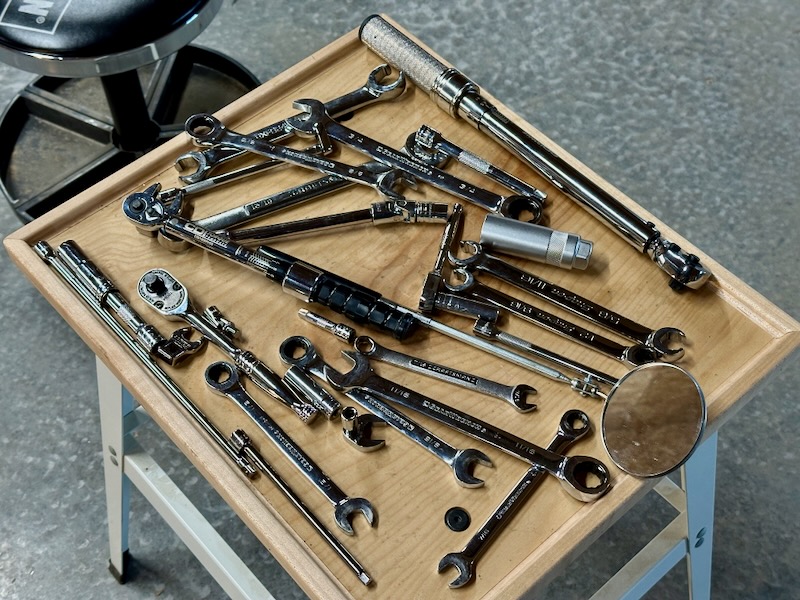
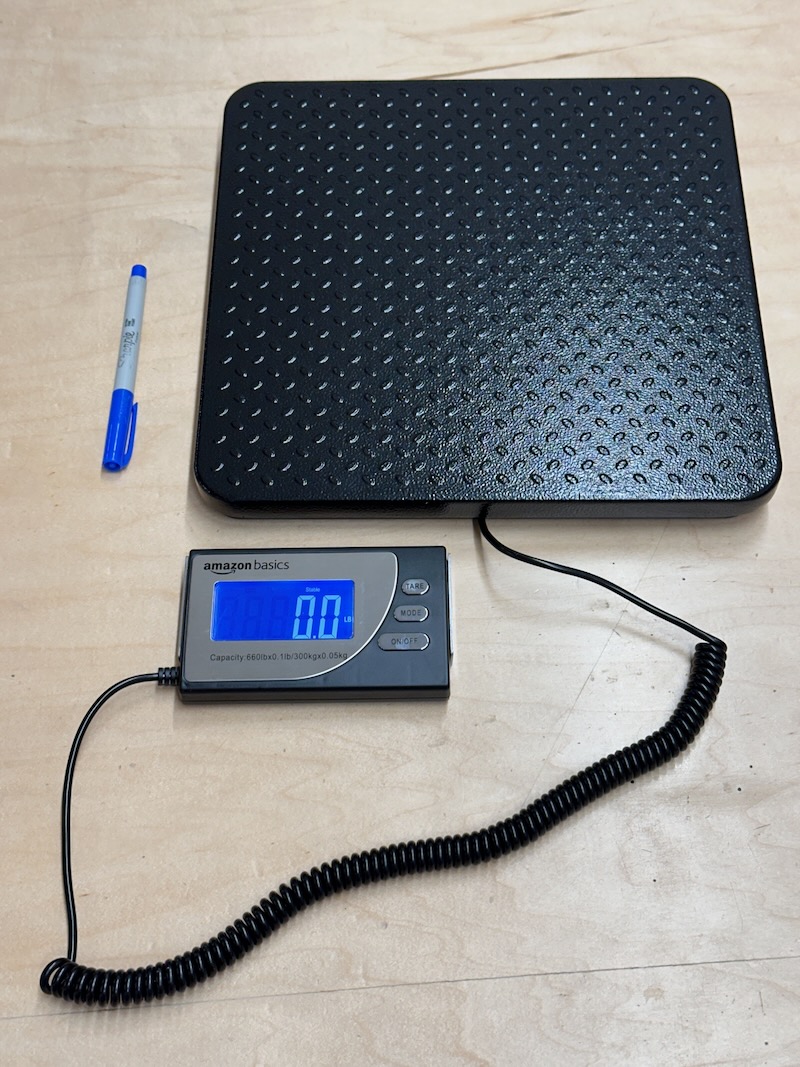
Purpose-designed aircraft scales are super expensive, but these days you can buy pretty accurate digital scales for not much money. I bought three of these 660 lb scales from Amazon and satisfied myself, by standing on each one in turn, that they were probably accurate:

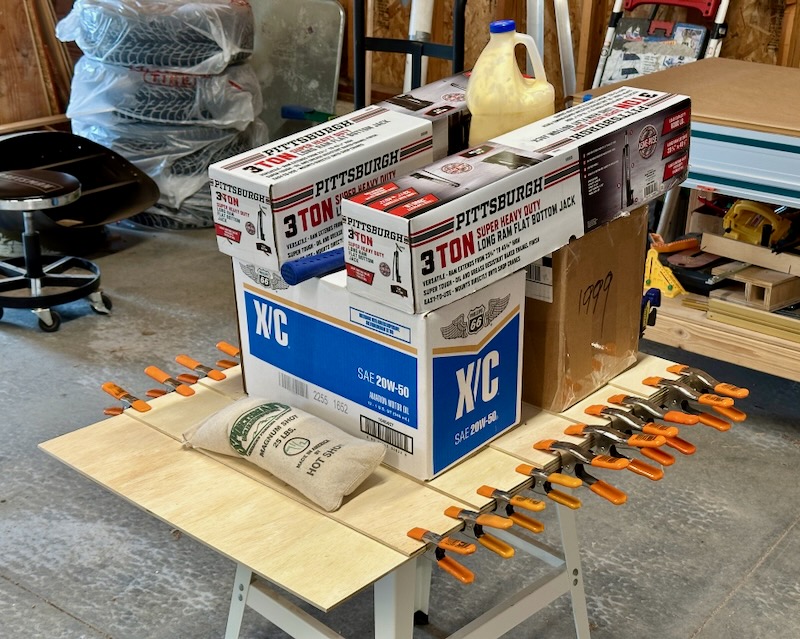
I made some ramps to help me roll the airplane up onto the scales, by gluing together some thin plywood in a stair-step manner:

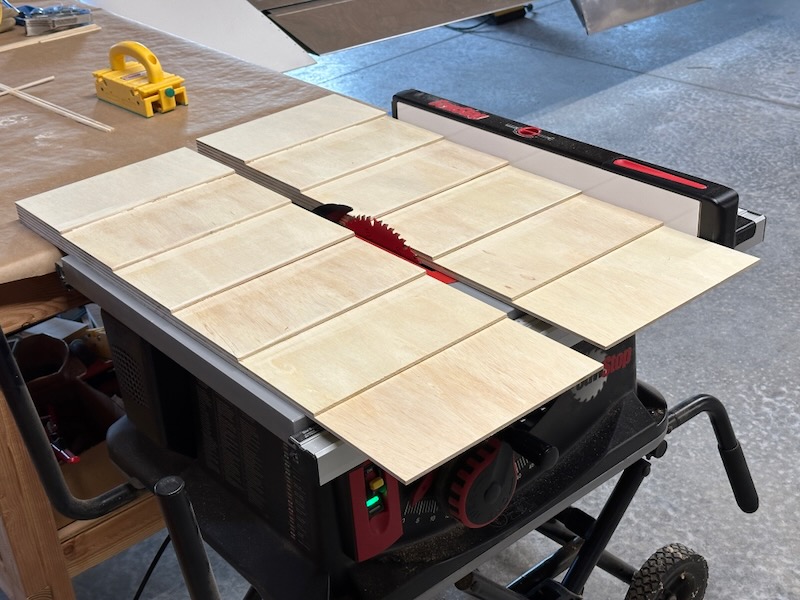
I cut these to size and rounded the corners of each step – they actually work pretty well, and were cheap to make:

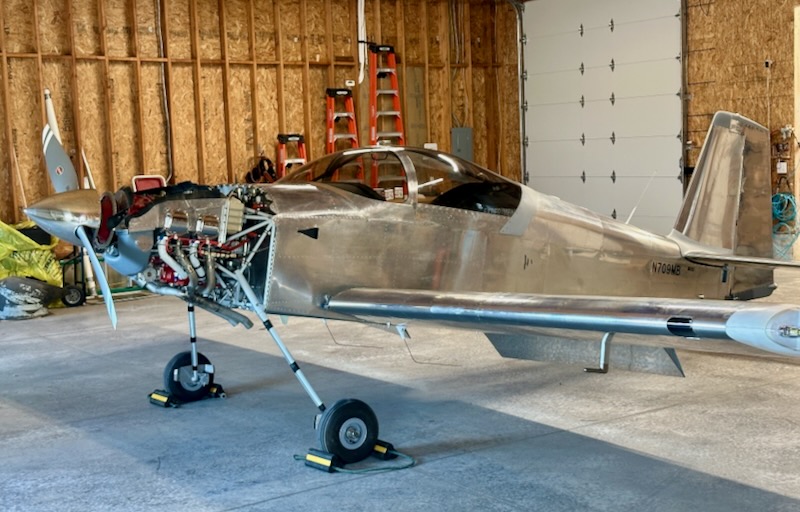
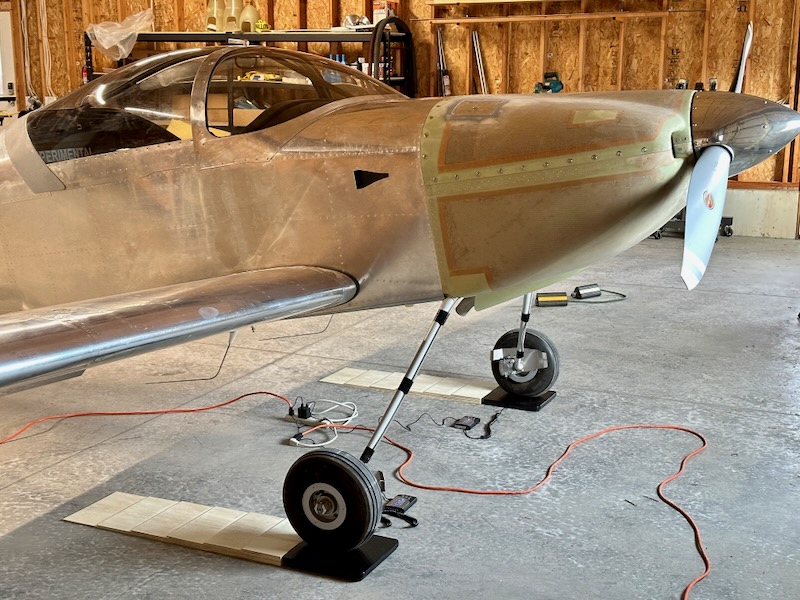
I installed all the removable pieces of the airplane – cowl, covers, panels, interior, and seats – and rolled the plane onto the scales for an initial weight check. This didn't give me accurate weights for each wheel, but I wanted to double-check the total weight before getting too far along:

Then I leveled the airplane and weighed it again, which gave me a proper weight figure from each wheel. Using the measured positions of each wheel, I made a little spreadsheet to calculate the empty weight and CG position.

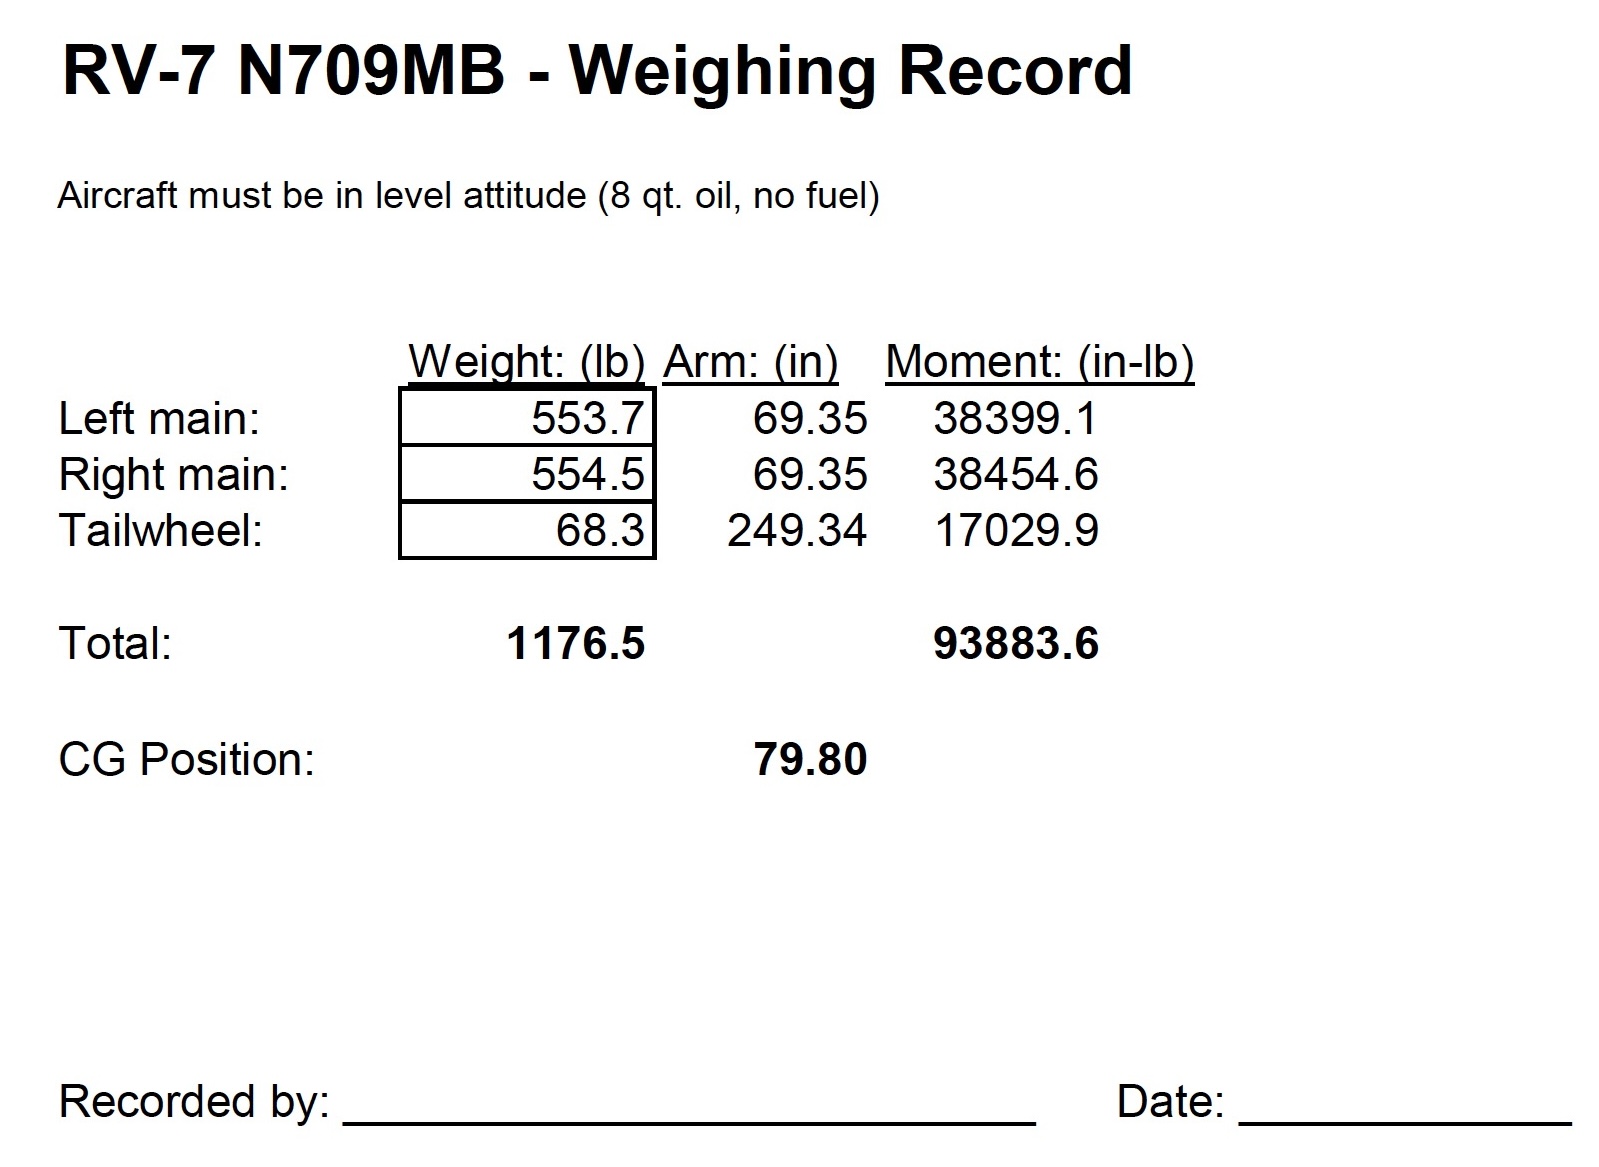
The airplane is heavier than I'd hoped, which is not a surprise, but it didn't turn out as heavy as it could have been. In the future I might look at a lightweight lithium battery as an easy way to save ten pounds, and perhaps a future panel makeover – or even a composite propeller – will make it lighter as well. Still, for now I have enough useful load to carry myself, my wife, full fuel, and some luggage, which is really the main goal.

As for the CG position, it ended up pretty far forward, which is a good thing for the RV-7. I calculated various loading scenarios, and the only time the aft CG limit is a concern is if I have two big guys, empty tanks, and a whole lot of baggage – not a common scenario, thankfully.

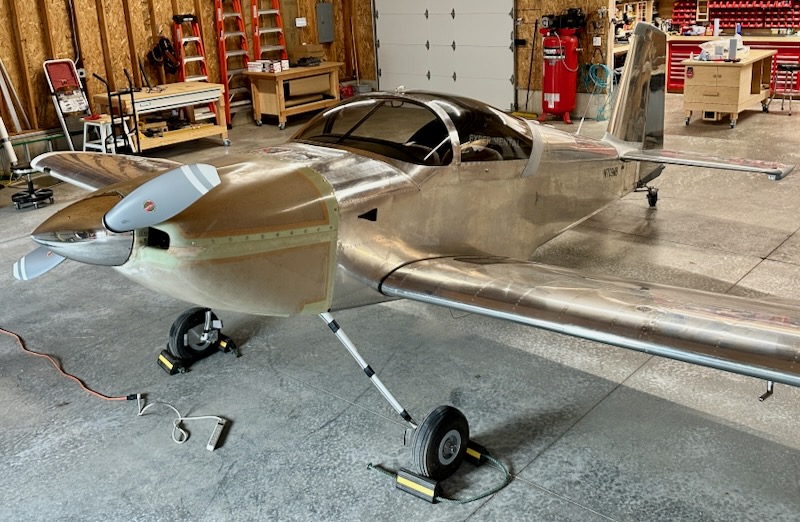
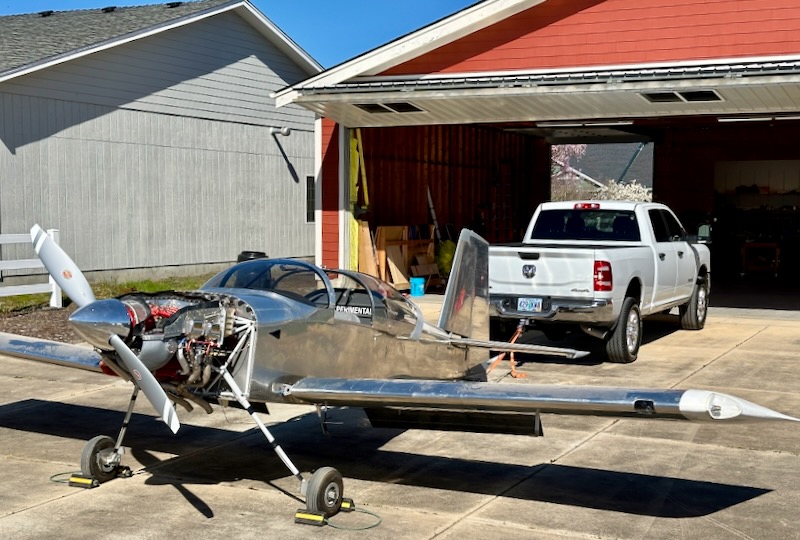
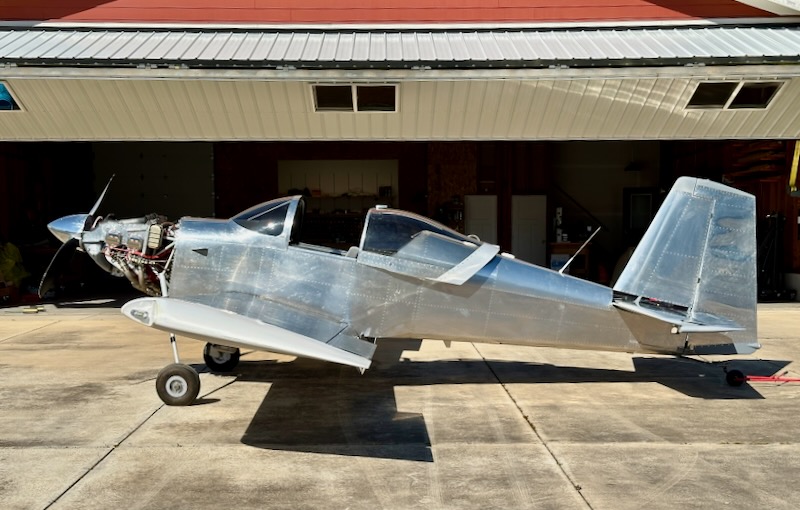
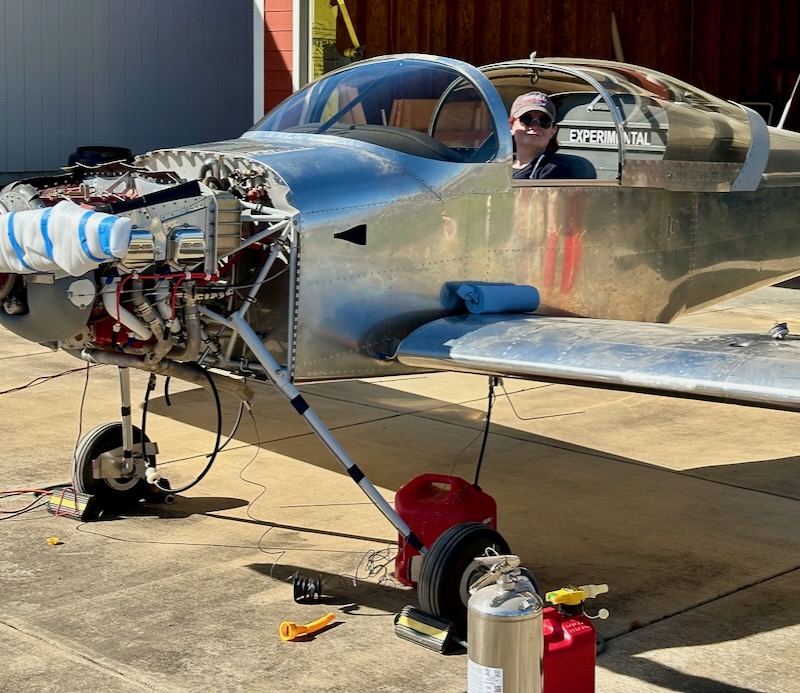
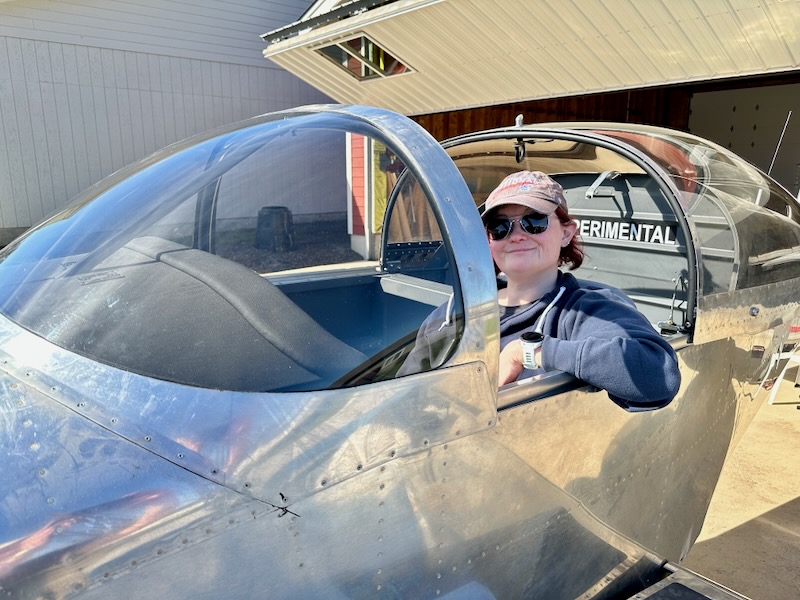
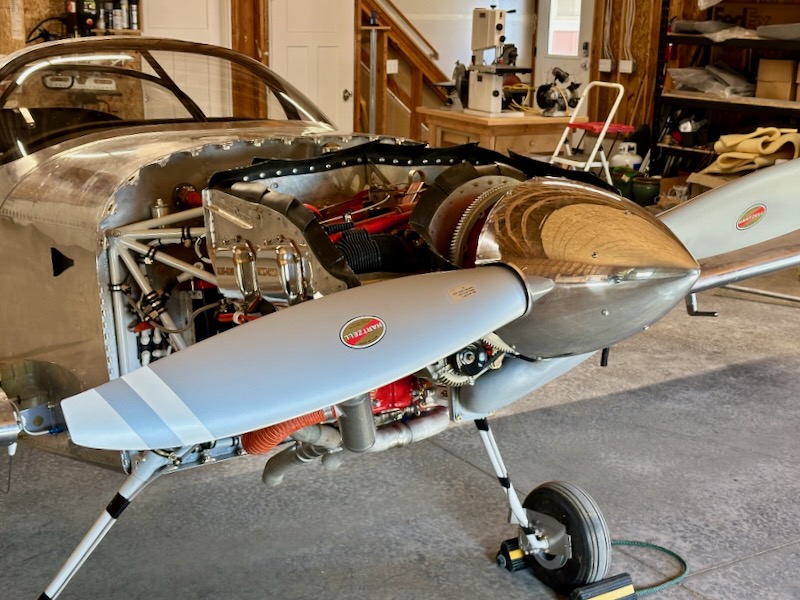
I have to pull everything apart again for the final inspection, but first I had to take a picture of the airplane in the highest state of put-togetherness that it's ever been so far:

External markings

Sunday, March 17th, 2024

I obtained a pair of vinyl N-number decals from Aerographics, and a properly-marked data plate from Aircraft Engravers. I riveted the data plate under the horizontal stabilizer, and stuck the decals on the aft fuselage. For the N-number I used my (and Mary's) initials instead of the traditional "RV" suffix, since it seems like half the CTAF traffic around here is "something something Romeo Victor".

Also from Aerographics, I picked up a set of warning labels to hopefully help people remember not to stand on the flaps:

I still have a few things left to take care of, but for the most part the only things preventing a first flight are paperwork-related:

First engine start

Saturday, March 16th, 2024

Nothing left to do but see if the engine will run.

Once again I enlisted Dale's help, this time to stand fire watch and check for leaks. First we disconnected the top oil cooler hose and filled the cooler with oil per Lycoming SI 1241C. This took about a half-quart and only made a little mess. Then I used the starter to crank the engine with the bottom plugs out until I saw signs of oil pressure. This took three 15-second hits of the starter, and eventually registered about 20 PSI. After a close inspection for leaks, I finally installed and torqued the bottom plugs.

I didn't want to take any chances, so we lassoed the tailwheel to his truck bumper just to be extra sure the plane couldn't go anywhere:

I think the video shows the next events best:

Amazingly, the engine lit after only a few blades, the oil pressure came right up, and it settled down fairly quickly to a smooth idle. In a few minutes' of running I was able to verify that I have a good engine, all engine sensors and gauges are working, both alternators function as intended, both mags check good, and the prop governor can cycle the prop. A really momentous occasion that's been a long time coming. After shutdown, I looked everything over and found no leaks, drips, or wear spots. Later I reviewed the data logs to confirm my in-the-moment observations and found nothing alarming in the numbers.

Then I decided to give the airplane a bath, because in the sunlight it was looking filthy! It's still streaky, but at least it's no longer covered with grime and dust:

Fuel system check & calibration

Friday, March 15th, 2024

Today's task was to flush the fuel tanks, test as much of the fuel system as possible, and calibrate the fuel quantity gauges.

To avoid blowing myself up, I fabricated this simple grounding harness from a spool of hardware-store wire. It has one alligator clip for the airplane, one clip to attach to a metal funnel, and a third clip on the end of a long run of wire that I can connect to a ground rod if needed. There's also a length of wire with a weight on the end (made from a bolt and a stack of washers) which I can drop down the neck of a plastic gas can. The goal here is to prevent a potential difference between the airplane and the fuel container due to the static electricity generated by fuel flowing from a tank being drained, which could otherwise cause a spark. This might be overkill, but fuel flowing through rubber and plastic can do funny things, and I enjoy not being exploded.

I temporarily removed the fuel tank drains, and installed a pair of ball valves with rubber fuel hose attached. With this setup and the ground rig connected, I flushed about ten gallons of avgas through each tank, draining it back into the gas cans through a clean paint filter:

Happily, I only found a few tiny particles of trash in the filters, and nothing leaked:

Then I disconnected the fuel hose at the inlet to the mechanical fuel pump, and used the electric boost pump to run several gallons from each tank through the fuselage plumbing and back into gas cans. This allowed me to check most of the plumbing for leaks, verify the operation of the fuel selector, and test the boost pump and fuel flow gauge. I put a lawn-mower fuel filter in the temporary drain hose to avoid putting any trash back in circulation:

The fuel flow gauge was showing about 55 gallons per hour with the boost pump drawing from either tank. Judging by my watch, it was filling the gas can at the rate of about a gallon every minute, so that number seems believable. No fuel pressure indication here, since the hose is disconnected:

I recruited Mary to push buttons, got her situated in the seat, and then heaved the tail up onto a stand to level the fuselage:

Using a calibrated fuel container, I added two gallons at a time and had Mary record each calibration point until the gauge stopped registering. For the right tank, we had no problems with the calibration process and were able to record points up to 17 gallons. Above that level, the float tops out due to the dihedral of the wing:

The left tank seemed to have a sticky float, requiring a lot of tapping to get it to register changes in fuel level. We were eventually able to get a believable calibration curve out of it, but I'm not completely convinced. I'll monitor this and see if it frees up with use, and hopefully I won't have to pull the sender to fix it:

After filling and calibrating each tank, we then used the boost pump to drain the fuel back into gas cans again.

Mary the long-suffering assistant rated the Classic Aero Aviator seats as "like the seats in an upscale SUV":

Spark plugs & engine preparation

Sunday, March 10th, 2024

Working through the todo list, aiming towards being able to start the engine – an exciting goal. I bought a new set of spark plugs and checked the gaps to make sure each one was set correctly:

I also wanted to check the resistance of the new plugs, but none of the probes on any of my meters were long enough to reach the bottom of a spark plug barrel where the contact lives. So I made this little resistance-checking adapter, which is nothing more than a spring, a screw, and a chunk of Delrin I turned down on the lathe:

To use it, I clip one meter lead to the screw, push the spring into the spark plug barrel, and touch the other lead to the center electrode. Super easy and convenient:

I installed the top plugs with copper anti-seize and new gaskets, and torqued both the plugs and the harness nuts:

The bottom plugs I will leave out until engine pre-oiling is complete, so I insulated the connections using scraps of plastic conduit slipped over the ends:

I verified the magneto timing, and checked the torque of all the important fasteners and hydraulic fittings on and around the engine. As with anything firewall-forward, it takes a whole host of adapters and extensions to even be able to reach most items:

I got the spinner out of storage and used it to check the position of the forward spinner bulkhead, then torqued and safetied the mounting bolts for it:

Then I removed the protective covers from the prop blades,and installed the spinner. Looks great if I do say so myself: