Author Archive

More canopy trimming

Saturday, April 28th, 2007

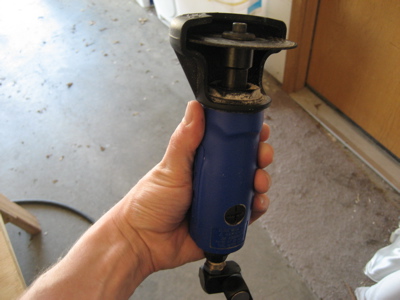
Scott loaned me his cutoff tool, which has more oomph than my die grinder. It's not as precise for canopy cutting as the air drill, but it can be used one-handed, so it was excellent for making cuts while the canopy was upside down.

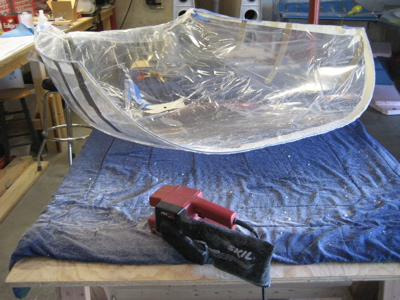
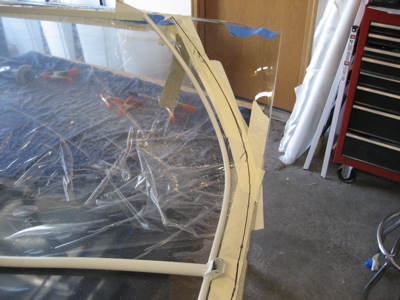
I stretched some duct tape across the inverted canopy to relieve some of the stress on it, drew some initial cut lines along the sides, and trimmed back and taped down the protective plastic covering to keep dust off the plexglass.

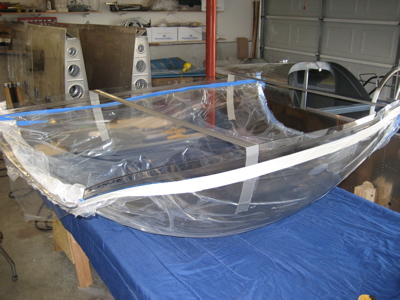
As I was cutting along, I stopped to "repair" the duct tape every time I cut through it.

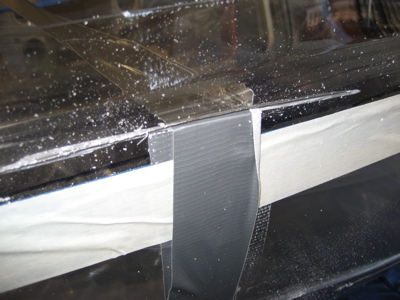
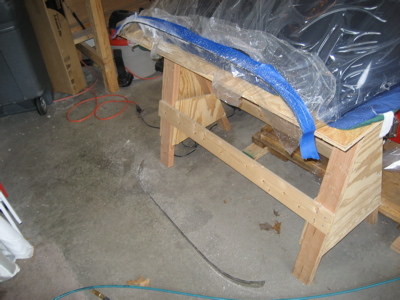
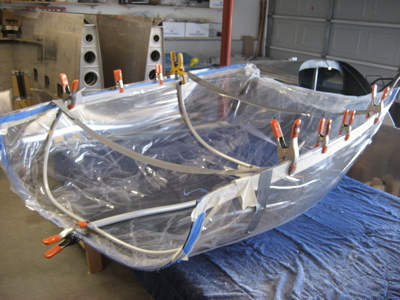
After trimming the mold flanges off the sides, I was close enough to at least be able to clamp the bubble to the canopy frame side rails:

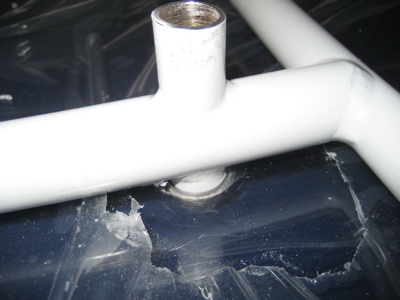
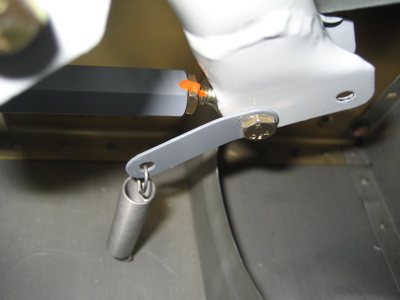
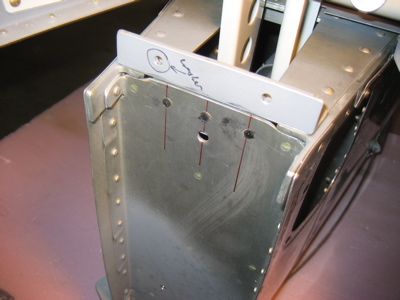
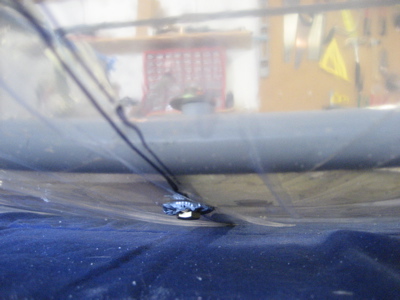
To keep the center latch tube from popping out of its hole and ruining the positioning of the frame, I lightly clamped it in place using a bolt, nut, and two fat washers. The washer that contacts the glass is padded with duct tape to prevent scratching, and the nut is only finger tight.

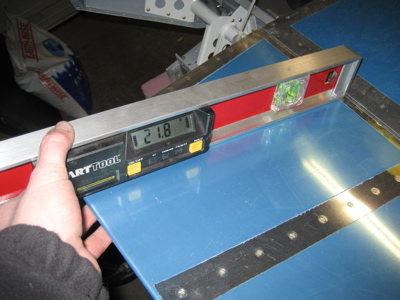
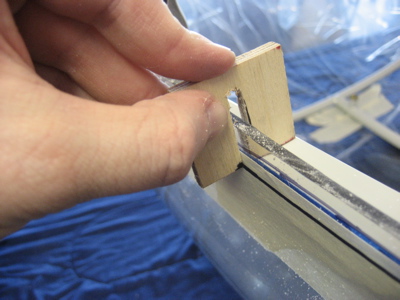
I then needed to draw a line on the outside of the bubble that was even with the bottom of the canopy side rails. However, the tape holding the plastic in place prevented me from looking through the bubble to see where to draw. So, I made this little edge marking tool out of scrap wood, and it made marking the line a piece of cake:

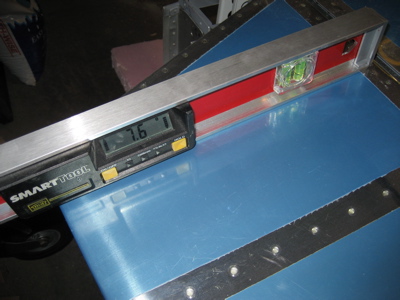
I used another little piece of scrap wood to help me mark a trim line on the glass 1.5 inches aft of the rear canopy bow. This will need to be trimmed back further eventually, but this is a good start.

I also borrowed Scott's portable belt sander, which he promised would be a good way to clean up the cut edges of the plexiglass bubble. I was really skeptical, but this thing took care of uneven cut lines and jagged edges in a flash. A couple applications of the belt sander, then successive passes with 220 and 400 grit sandpaper, and the edges were reasonably nice. Once everything is finished I'll go down to some insane grit like 1500 or 2000, but for now 400 is okay.

Started cutting canopy

Sunday, April 22nd, 2007

Back from Sun-n-Fun… I got to look at a bunch of RVs up close and personal, which was a great boost for my building morale. I figure as long as at least one airplane with worse workmanship than mine manages to make it to a major flyin, I am still doing fine. Anyway, I looked a lots of slider canopies, got a few ideas, and generally came away with a better idea of what need to do to get the canopy started. Oh, and I did a bunch of actual work work too.

Luckily today, the first day back from the trip, the temperature finally was high enough to work with plexiglass:

I didn't take a lot of photos because it's kind of a two-handed job. I wore a dust mask, eye goggles, and long sleeves to protect myself from flying plastic bits. After not too much cutting I put on a pair of shooting muffs after I realized I was getting plastic in my ears – not cool. To make the cut, I used a Norton cutting wheel in my air drill, which seemed to work pretty well. I experimented with the technique of making many shallow cuts, but in the end it seemed to be easier to just cut all the way through the first time, going through the material really slowly.

I cut the mold flanges off the front and rear of the canopy, but haven't figured out how to support it while cutting off the bottom flanges just yet. That'll be a puzzle for another day.

I also drilled the hole for the latch tube at the previously marked location. The plans call for this hole to be 5/8", but I made it 11/16" because the steel tube was really tight in the hole and I didn't want it to crack. This area will be sealed with goop and covered with a trim strip, so a slightly oversized hole is no big deal.

You can't see it because I was lax about taking pictures, but once the latch tube was able to go down into the hole, the canopy frame spine ended up sitting very nicely inside the contour of the canopy bubble. Things seem to be going well so far.

Switched web hosts

Monday, April 16th, 2007

This site is now running on Bluehost, instead of from an old server in my basement. It should now be faster and easier on my bandwidth. I still have a few bugs to work out, but overall the transition seems to have gone pretty well. I also upgraded from WordPress 1.5 to 2.1, so there may yet be some things that are broken. No need to update your bookmarks – http://www.rv7blog.com will point here as soon as the DNS change propogates.

Installed aileron trim servo

Sunday, April 15th, 2007

Today I installed the aileron trim servo. Here's the finished product – sorry I didn't get any more photos, but Mary had the camera all day.

I made and installed the steel links, but I didn't hook up the springs just yet. I have an idea I want to try instead of using the safety wire called for by the plans.

Extended elevator stop

Saturday, April 14th, 2007

I wrote to Van's to ask their opinion of my elevator travel situation, and their reply was:

Matt,

You can either make a new elevator up stop or add a piece to the existing stop. The horns hitting the aft bulkhead is not a bad thing, but that will not happen when you fix the up stop.

Bruce Reynolds

Okay, I can do that. Since the existing elevator stop is already drilled for the bolts that attach the vertical stabilizer, I decided to leave it alone to avoid causing further problems. Instead, I created this little elevator stop extension out of some 1/8" angle:

It's riveted to the underside of the existing stop, using the existing three rivet holes through the stop and aft deck. It effectively moves the face of the stop forward about 3/32".

I also added three flush rivets to attach the other leg of the stop extension to the aft bulkhead. Probably overkill, but it makes me feel good.

Now to test the new elevator travel. Here's neutral:

Here's the new up position:

I now have 29.4 degrees of up elevator travel, which puts me in the allowable range of 25-30 degrees. I probably could have made my stop extension even a little bit longer, but as long as the elevator travel is within the okay zone I'm happy.