Archive for April, 2007

Still more canopy trimming

Sunday, April 29th, 2007

I clamped the canopy to the frame again in order to mark the final trim lines along the side rails. But first I had to go to the hardware store again and pick up even more clamps, if you can believe it. I ended up using them all, too.

I also marked a line for further trimming along the aft edge. This will give me 1/2" of overhang, or 3/4" of edge distance from the fasteners – right in the middle of the suggested range.

Here it is after trimming. I know, it doesn't look any different, but it took a lot of itchy, nasty, obnoxious work to get from the first photo to this one.

I went over all four edges with the belt sander again, then 220 and 400 grit paper. I also made an extra effort to knock the sharp corners off all the cut edges, which I slacked on yesterday. The edges aren't glass-smooth yet but they're okay for now.

Back on the fuselage and all clamped down. Everything seems to have pulled into place nicely. The sides of the bubble are now 1/4" above the canopy frame side rails, which will make room for some aluminum bits that attach the plexiglass to the frame.

Lots of canopy scraps in the trash… I hope all these pieces were supposed to be removed!

I need to come back with the belt sander and make the visible forward lip of the canopy arrow-straight, but I'll wait to do that till after the plexiglass is drilled to the frame and nothing is going shift around.

Made the Big Cut

Saturday, April 28th, 2007

Some call it the Big Cut. Others call it the Thousand Dollar Cut. A few call it El Diablo. Well, not really, but the act of splitting the plexiglass bubble into separate sliding canopy and fixed windscreen pieces is something that's universally dreaded in RV building circles. Here goes…

I started by marking the approximate area of the cut, and trimming back the plastic sheet an inch or so in either direction.

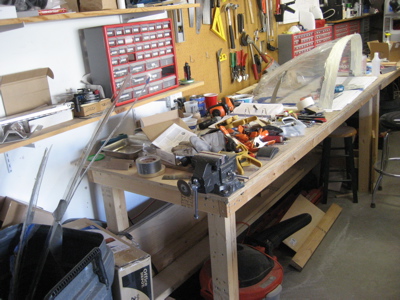
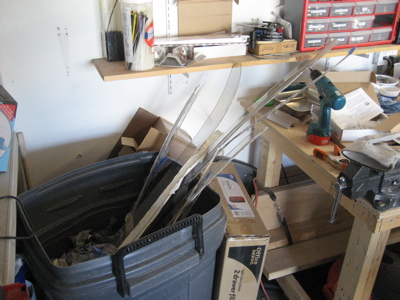
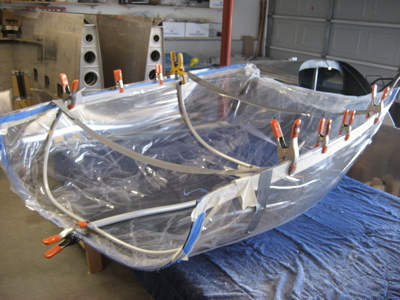
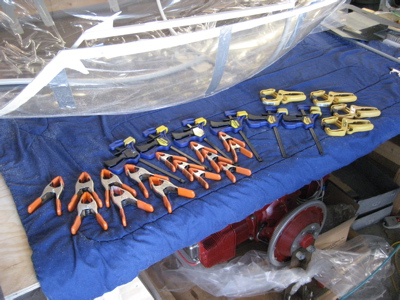
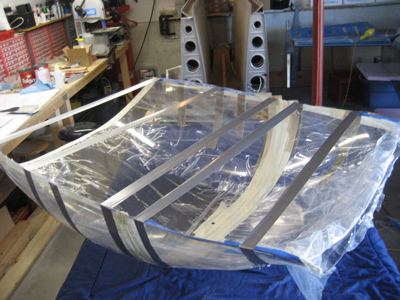
If you're buying clamps with which to build an RV canopy, figure out how many you think you'll need, double it, and then buy twice as many as that. I had to run the store a couple times to get more clamps, and I used all of these and more at various points throughout the process. The ones on the right were the least useful (I had them laying around already) but spring clamps and padded bar clamps are a necessity.

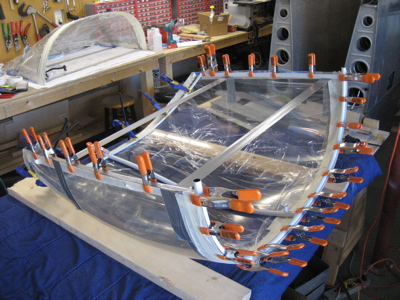
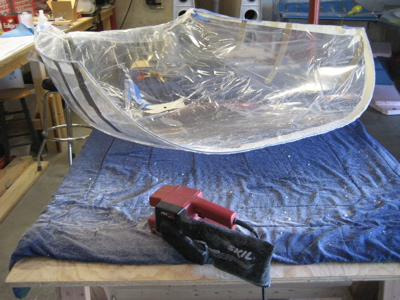
I clamped the canopy frame securely to the bubble…

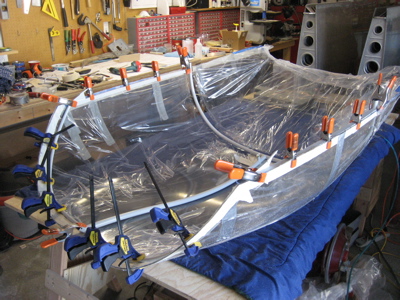
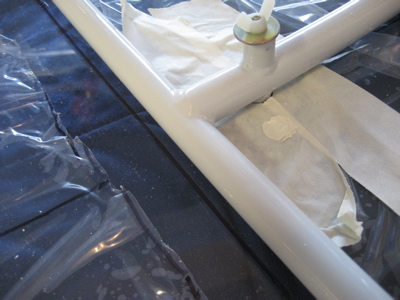
The fit was good along the sides and rear, but there were finger-sized gaps between the forward bow and the bubble. I wasn't too worried because I figured the plexiglass would change shape and relax to fit the frame better after it was cut.

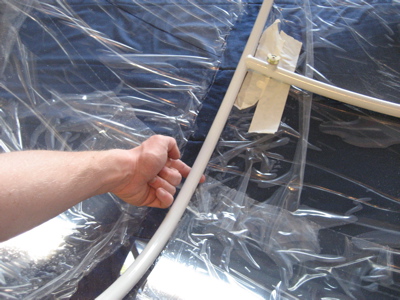
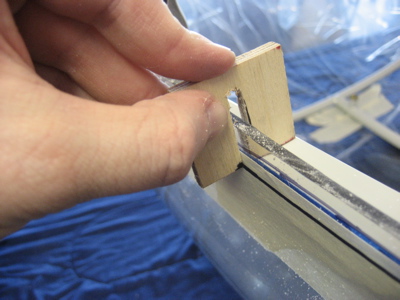
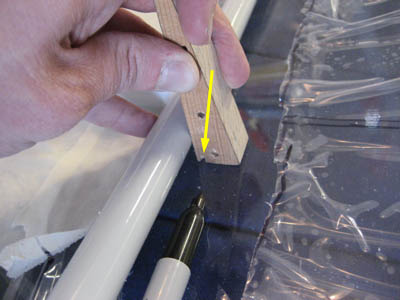
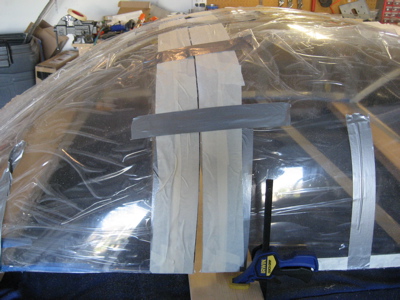
You're supposed to make the cut between 1/16" and 3/32" ahead of the forward face of the canopy bow. I cut a notch in a block of wood that let me mark a line 3/32" from the forward bow, then ran it from one end to the other using a sharpie to make the mark.

The cut line is marked:

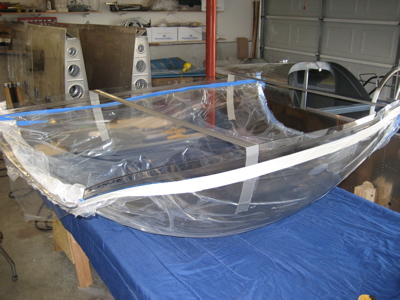
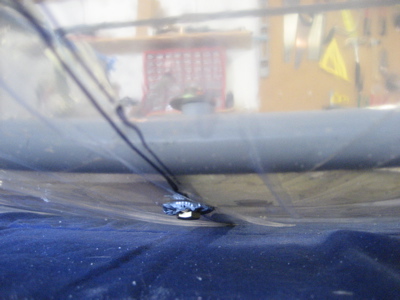
I laid masking tape over all the exposed glass on the inside of the canopy, then strung five separate runs of duct tape across the bottom to keep it from flopping around while it was being cut.

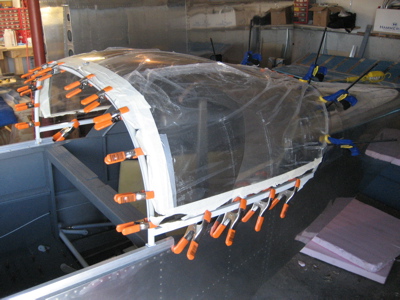
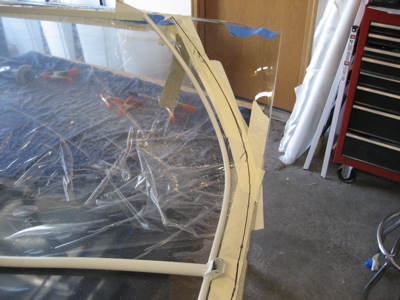
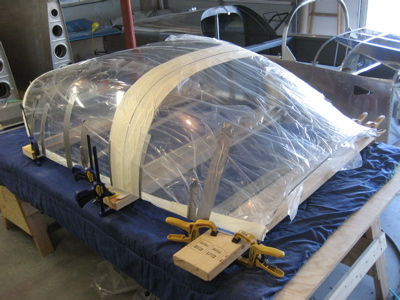
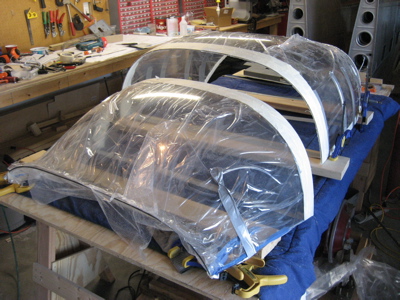
I put masking tape over the exposed glass on the outside too, but left a gap of 1/8" or so along the cut line so I could see it through the glass. Then I set the canopy up on boards to give me some room to get the cutting disc in at the bottom edge. Those clamps you see aren't actually clamping anything – they're just there to function as stops that keep the canopy from spreading while it's being cut.

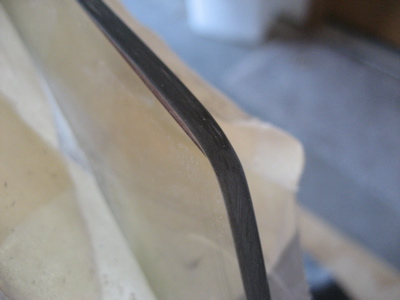
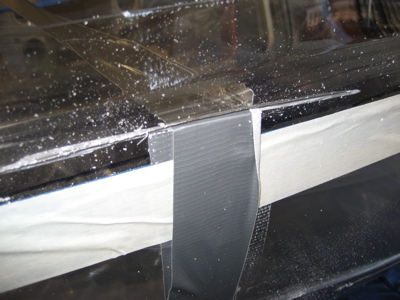
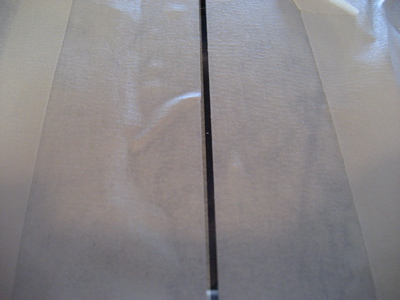
Here's a view of the cut line showing through the gap in the exterior layer of tape. From the inside out it goes: tape, ink line, glass, tape with gap in it.

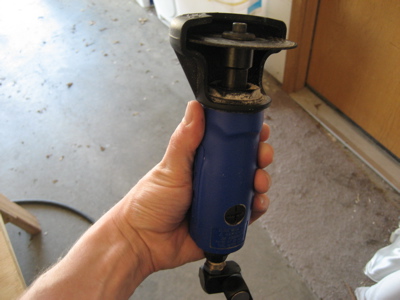
Since I wanted precision, and the upright canopy didn't need a hand to stabilize it, I used the air drill to make the big cut. I was doing it solo so I didn't get any action shots, but here's a view of the cut about halfway done. Every few inches I stopped and put on a strip of duct tape, to keep the two halves from pulling themselves out of alignment.

Here's what it looked like at the moment of separation:

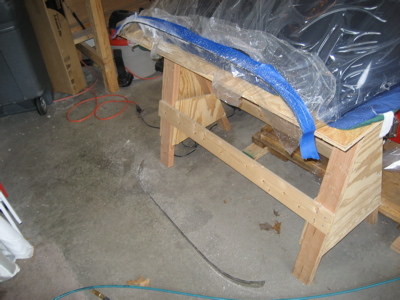
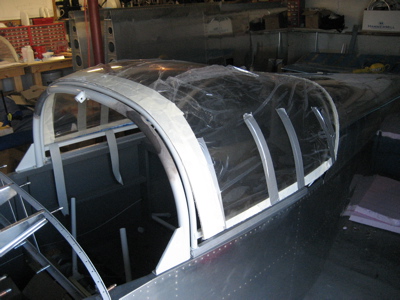
I used the belt sander and sanding blocks to clean up the edges of the cut, then set the canopy and slider frame on the fuselage for safekeeping. This way there's a minimum amount of strain on the unsupported plexiglass.

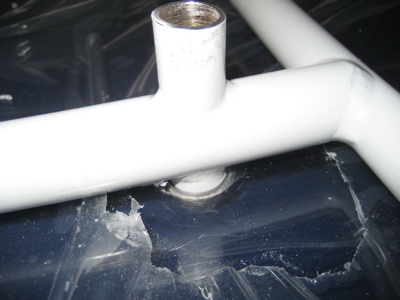
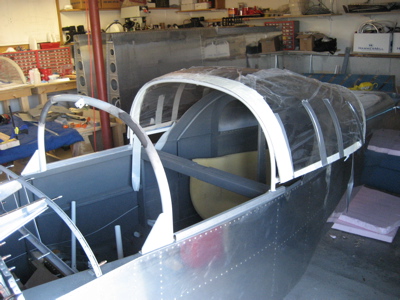
I couldn't resist sliding the canopy back and forth with the glass on it. What do you know, it works! It has a different feel with the weight of the canopy bubble on the rollers, but it still slides pretty smoothly.

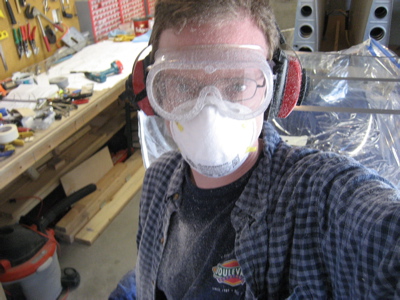
Here's what the well-dressed airplane builder is wearing this season. I was unbelievably hot, itchy and miserable after this exercise, but I'm happy that nothing major seems to have gone wrong with the dreaded Big Cut.

Ugh, what a mess. I need to do some workshop cleaning before I proceed. But first, a very long shower.

More canopy trimming

Saturday, April 28th, 2007

Scott loaned me his cutoff tool, which has more oomph than my die grinder. It's not as precise for canopy cutting as the air drill, but it can be used one-handed, so it was excellent for making cuts while the canopy was upside down.

I stretched some duct tape across the inverted canopy to relieve some of the stress on it, drew some initial cut lines along the sides, and trimmed back and taped down the protective plastic covering to keep dust off the plexglass.

As I was cutting along, I stopped to "repair" the duct tape every time I cut through it.

After trimming the mold flanges off the sides, I was close enough to at least be able to clamp the bubble to the canopy frame side rails:

To keep the center latch tube from popping out of its hole and ruining the positioning of the frame, I lightly clamped it in place using a bolt, nut, and two fat washers. The washer that contacts the glass is padded with duct tape to prevent scratching, and the nut is only finger tight.

I then needed to draw a line on the outside of the bubble that was even with the bottom of the canopy side rails. However, the tape holding the plastic in place prevented me from looking through the bubble to see where to draw. So, I made this little edge marking tool out of scrap wood, and it made marking the line a piece of cake:

I used another little piece of scrap wood to help me mark a trim line on the glass 1.5 inches aft of the rear canopy bow. This will need to be trimmed back further eventually, but this is a good start.

I also borrowed Scott's portable belt sander, which he promised would be a good way to clean up the cut edges of the plexiglass bubble. I was really skeptical, but this thing took care of uneven cut lines and jagged edges in a flash. A couple applications of the belt sander, then successive passes with 220 and 400 grit sandpaper, and the edges were reasonably nice. Once everything is finished I'll go down to some insane grit like 1500 or 2000, but for now 400 is okay.

Started cutting canopy

Sunday, April 22nd, 2007

Back from Sun-n-Fun… I got to look at a bunch of RVs up close and personal, which was a great boost for my building morale. I figure as long as at least one airplane with worse workmanship than mine manages to make it to a major flyin, I am still doing fine. Anyway, I looked a lots of slider canopies, got a few ideas, and generally came away with a better idea of what need to do to get the canopy started. Oh, and I did a bunch of actual work work too.

Luckily today, the first day back from the trip, the temperature finally was high enough to work with plexiglass:

I didn't take a lot of photos because it's kind of a two-handed job. I wore a dust mask, eye goggles, and long sleeves to protect myself from flying plastic bits. After not too much cutting I put on a pair of shooting muffs after I realized I was getting plastic in my ears – not cool. To make the cut, I used a Norton cutting wheel in my air drill, which seemed to work pretty well. I experimented with the technique of making many shallow cuts, but in the end it seemed to be easier to just cut all the way through the first time, going through the material really slowly.

I cut the mold flanges off the front and rear of the canopy, but haven't figured out how to support it while cutting off the bottom flanges just yet. That'll be a puzzle for another day.

I also drilled the hole for the latch tube at the previously marked location. The plans call for this hole to be 5/8", but I made it 11/16" because the steel tube was really tight in the hole and I didn't want it to crack. This area will be sealed with goop and covered with a trim strip, so a slightly oversized hole is no big deal.

You can't see it because I was lax about taking pictures, but once the latch tube was able to go down into the hole, the canopy frame spine ended up sitting very nicely inside the contour of the canopy bubble. Things seem to be going well so far.

Switched web hosts

Monday, April 16th, 2007

This site is now running on Bluehost, instead of from an old server in my basement. It should now be faster and easier on my bandwidth. I still have a few bugs to work out, but overall the transition seems to have gone pretty well. I also upgraded from WordPress 1.5 to 2.1, so there may yet be some things that are broken. No need to update your bookmarks – http://www.rv7blog.com will point here as soon as the DNS change propogates.